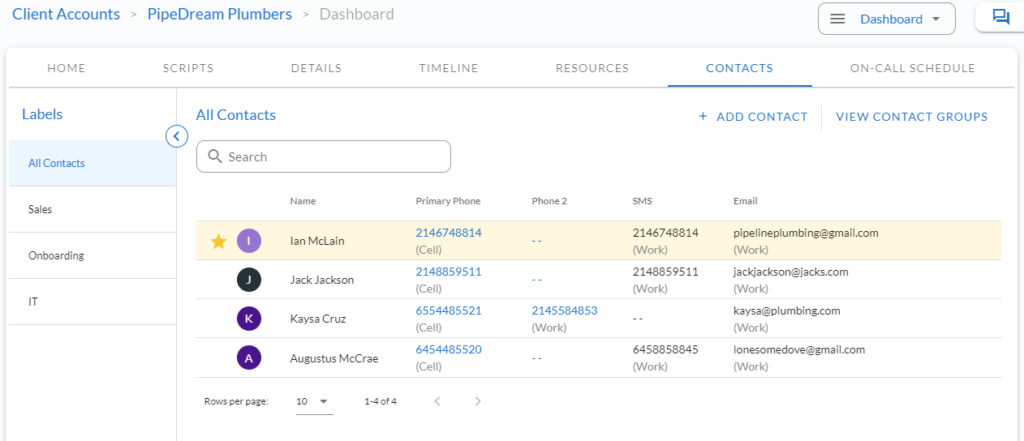
In this tutorial, you’ll learn about how to add and manage contacts as well as how to label them. For Contact Groups, please refer to the specific article for in depth information.
Adding a New Contact
From the client screen, navigate to the Contacts tab.

To add a new contact, click the + Add Contact link on the right. You’ll have the option to include multiple phone numbers, sms numbers, and emails by hitting the + icon on the right. The star indicates the primary method of contact.

Labeling and Editing Contacts
Labels are optional and allow you to sort your contacts which could come in handy if you have a lot of contacts for a particular client.
You can edit or delete a contact at any time using the pencil or trash icon.
Contact Groups
Contact Groups allow you to group contacts together for the purpose of setting up prioritized transfer groups or sms/email groups that can be integrated with the on-call calendar, message, or script. We’ll explore this in more detail in the Contact Groups article.
