Get Started Setup
Welcome to AnswerBug! In this guide to getting started, we’ll cover the following:
- Setting Up Your Account
- Personal Information
- Business Information
- Email link to Sign In
- Setting Up Your First AI Agent (Initial Steps)
- Train Your Agent
- Business Details
- Agent Settings
- Select Phone Number
- Review & Finish
- Go Live
- Agent Profile
Setting Up Your Account
The first thing to do is set up your AnswerBug account.
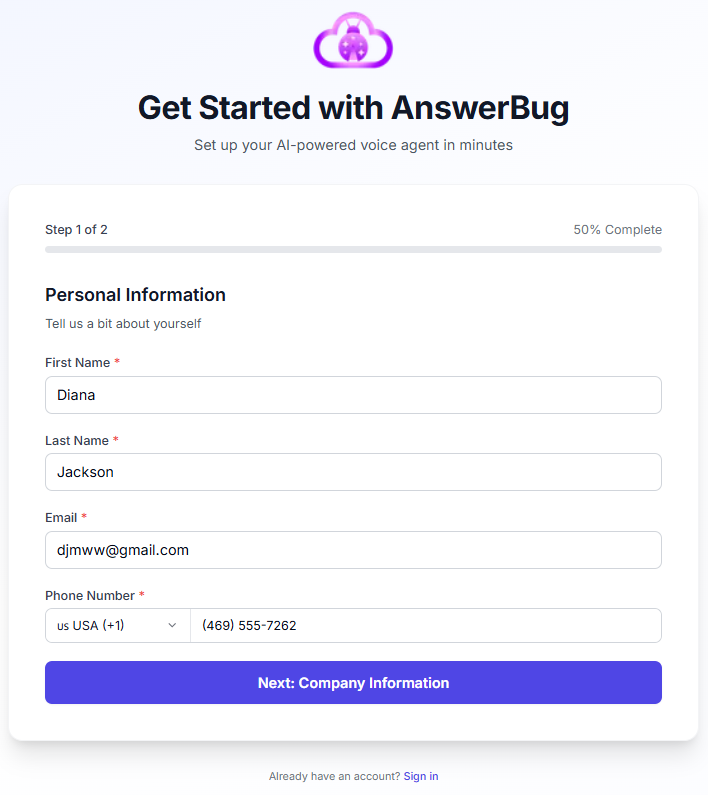
Step 1. Fill in your Personal Information with your First Name, Last Name, Email address, and Phone Number. All of these fields are required. Click Next.
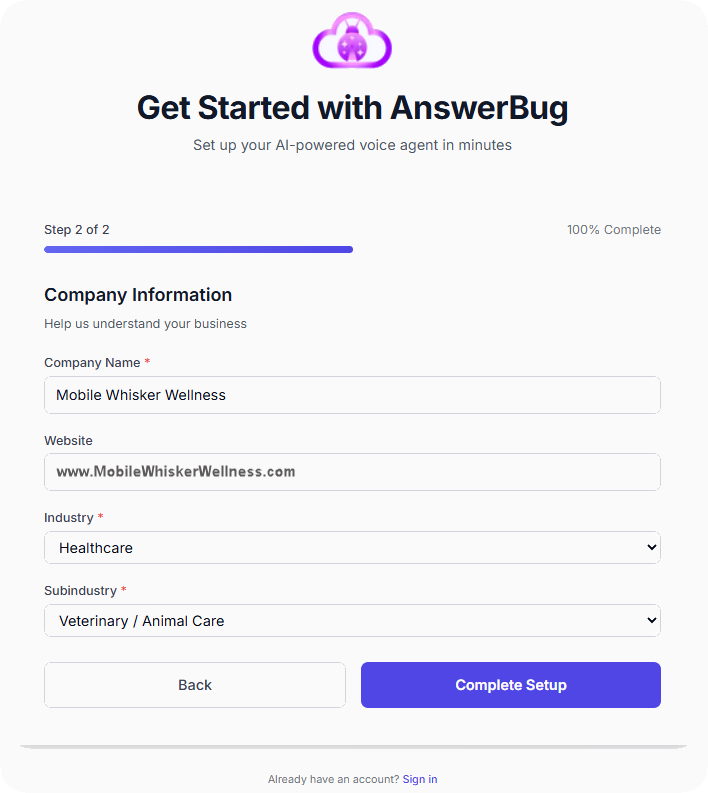
Step 2. Fill in your Company Information with your Company Name and Website, select an Industry from the drop-down list, and then select a Subindustry from the drop-down list. NOTE: A website is not required. Click on Complete Setup.
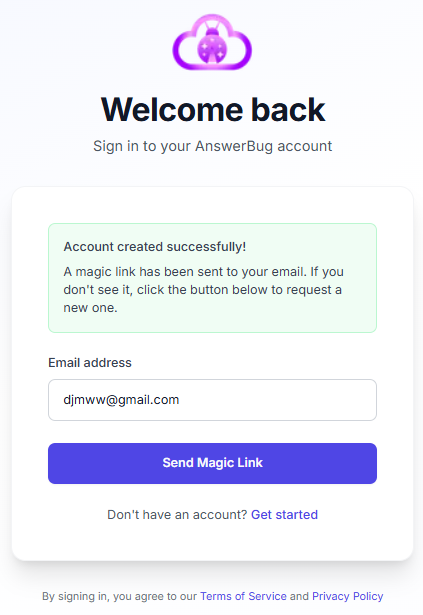
Once you have clicked on Complete Setup you will receive a notification that your account was created successfully and that a magic link has been sent to your email address.
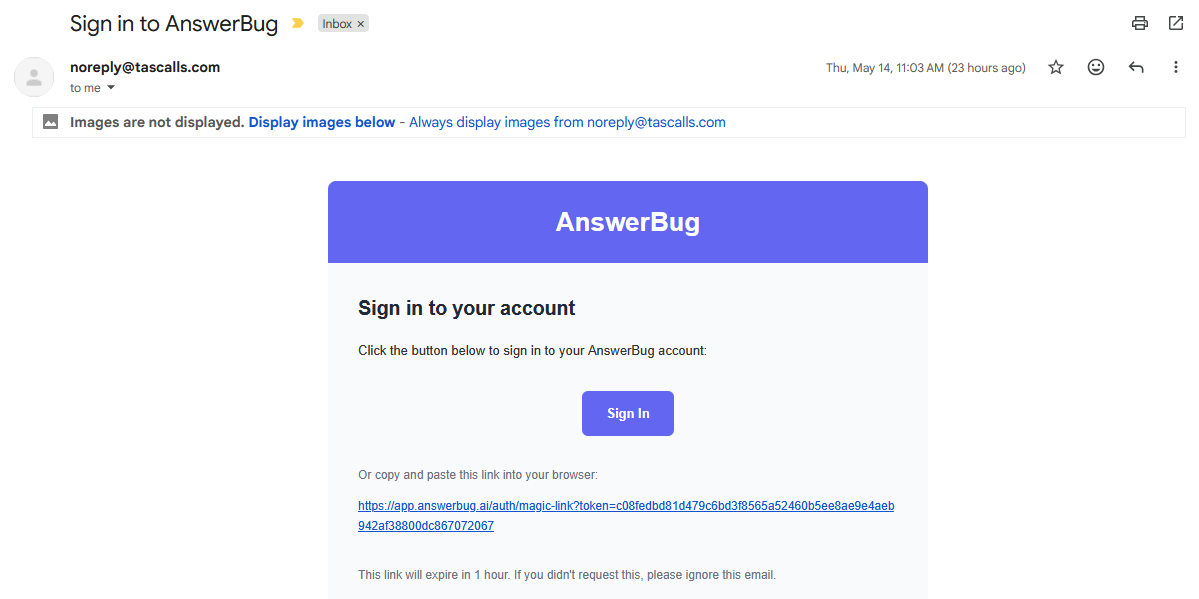
Step 3. When you receive your email click on the link to Sign In to your AnswerBug account.
Setting Up Your First AI Agent (Initial Steps)
These are the initial steps for creating your first AI Agent. You have to create your first AI Agent before you will have access to other pages to set up additional items in your account.
Step 1. Train your AI Agent – If you entered a website while setting up your account it should already be filled in on this page. If your website is not shown you can enter it in the Homepage field. The system will gather your business information from your website. If your website is not ready, or you do not have a website, you can click on Skip to skip this step.

Step 2. Business details – Your business information can help train your AI Agent. If you have a live website, and the system gathered your business information, you will see the two required fields already filled in. The Business tagline field is optional.

If you skipped Step 1 the Business name field will be filled in by default with My AI Agent. You can leave this entry as is for now or change it to your business name. Fill in what your business does in the other required field. If needed, you will be able to edit these fields later. The Business tagline field is optional. Click Next.
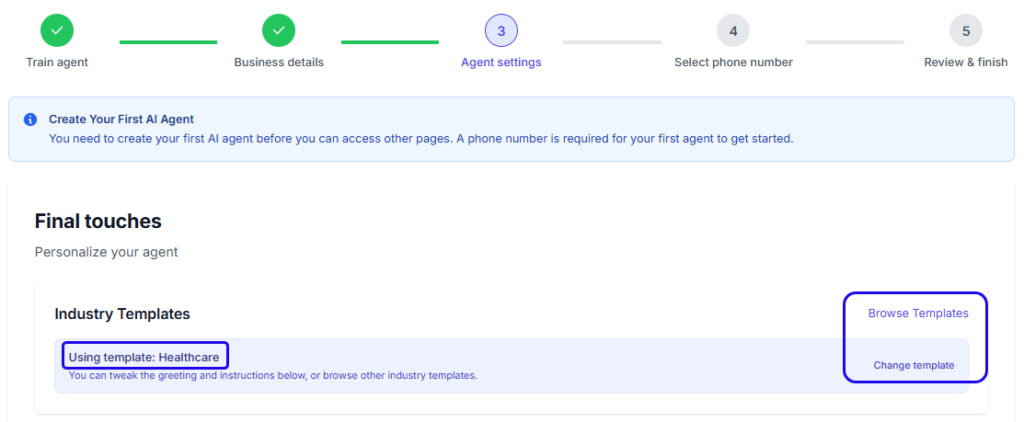
Step 3. AI Agent settings – On this page you will begin to personalize your AI Agent. An Industry Template is already selected based on the industry you selected when setting up your account. You can choose a different Industry Template if you feel the suggestions for the current template do not fit your business. The suggestions will change based on which template you select. NOTE: You will be able to modify the information you enter on this page later, if needed.
Industry Template – Get ideas and suggestions for the Greeting Message, Call Instructions, and Negative Prompt.
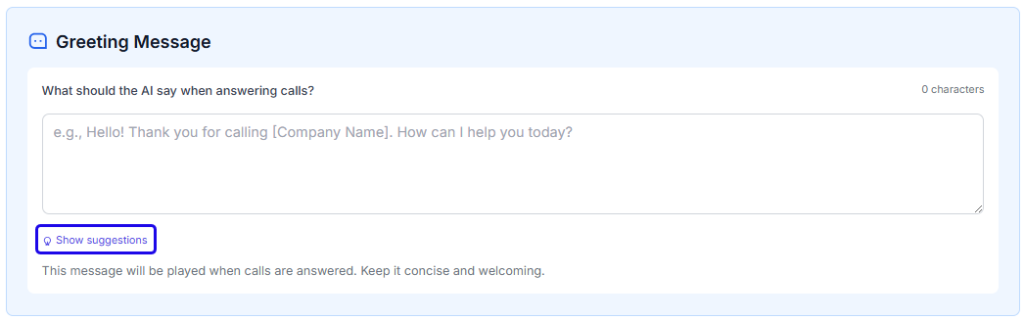
Greeting Message – What should the AI Agent say when answering calls?
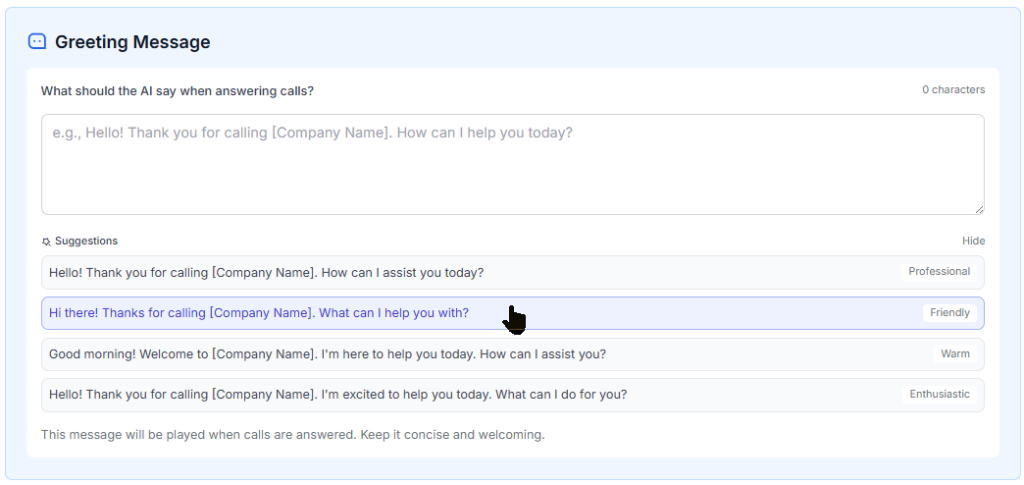
The greeting message will be played when calls are answered. Keep it concise and welcoming. You can write your own greeting or click on Show suggestions to see sample greetings for ideas.
You can click on a suggestion and it will be automatically entered in the field. You can then edit the greeting further.

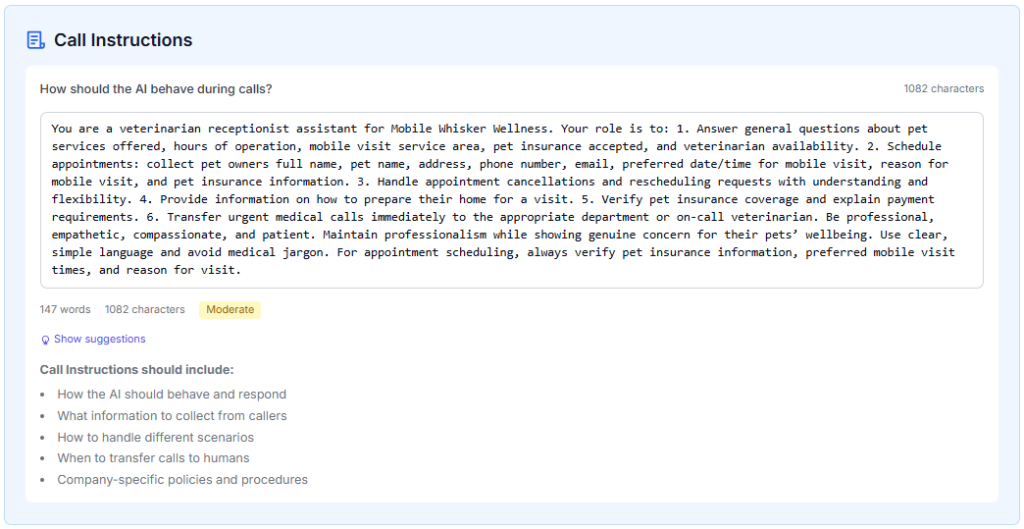
Call Instructions – How should the AI Agent behave during calls?
Enter detailed instructions for the AI Agent’s behavior during calls. You can write your own instructions or click on Show suggestions to see samples. You can choose any or all of the suggestions as well as add additional information. Remember that these suggestions are based on the Industry Template you selected.
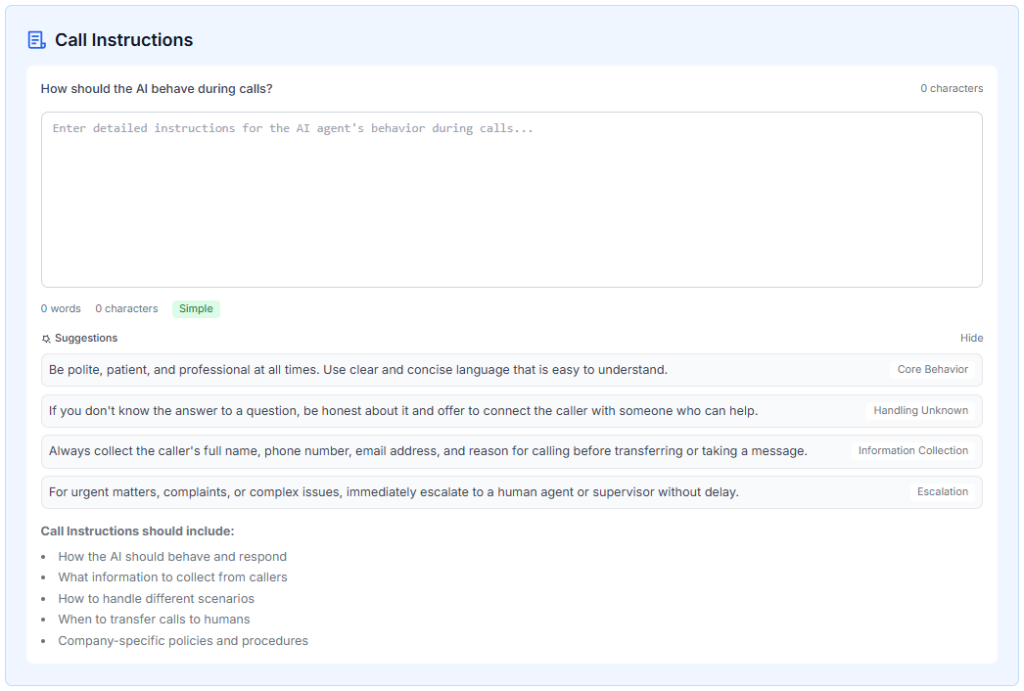
The more detail you enter the more complex the AI Agent behavior will become. The example below shows that the behavior has gone from Simple to Moderate based on the amount of information given.
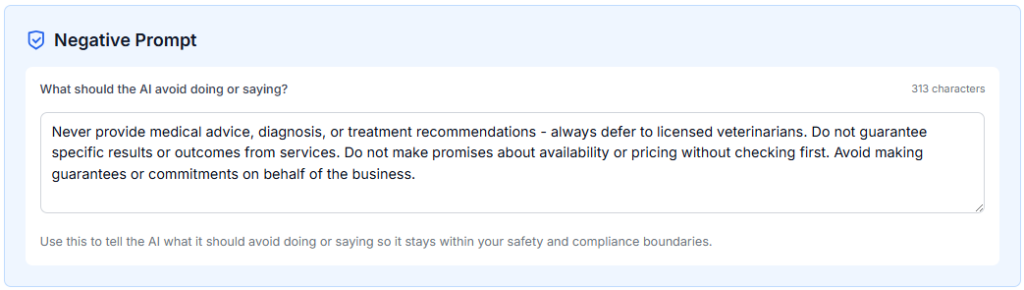
Negative Prompt – What should the AI avoid doing or saying?
Use this to tell the AI Agent what it should avoid doing or saying so it stays within your safety and compliance boundaries.
NOTE: At the bottom of this page there is a check box already checked by default. Calls are recorded. You will be responsible for notifying callers that the calls are being recorded as may be required by law.

Step 4. Select Phone Number – A phone number is required for your first AI Agent. On this page you are purchasing a phone number that will be your AI Agent’s AnswerBug phone number. NOTE: Phone numbers available to purchase are USA only. Later you will have the option to set up forwarding of your phone number to this AI Agent’s AnswerBug number.
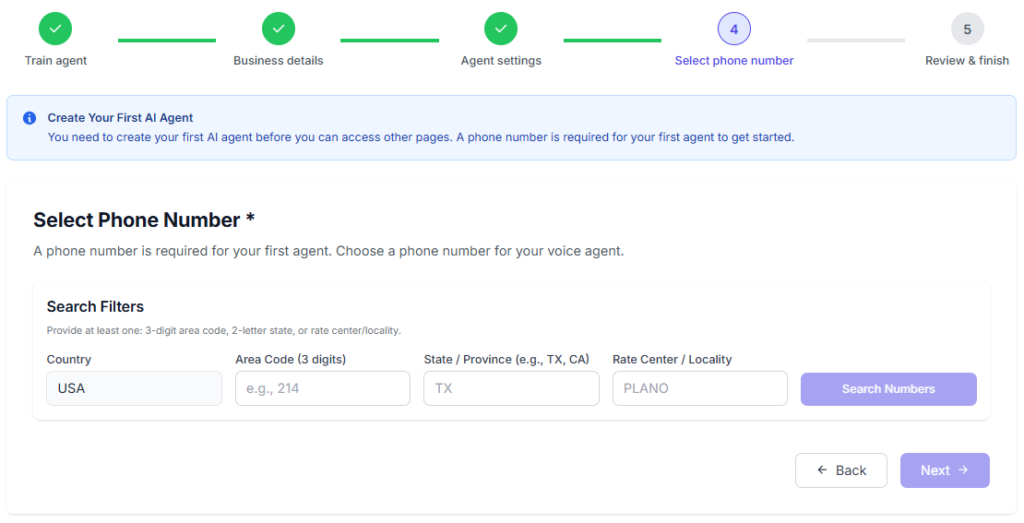
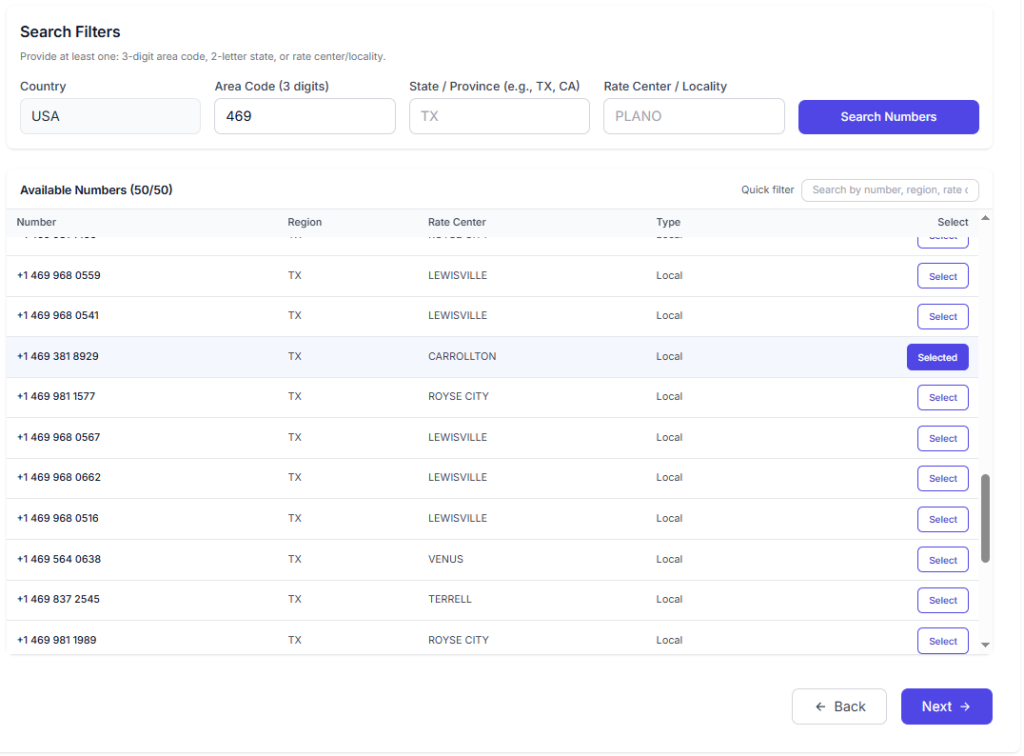
To choose a number you can search by Area Code (3 digits), State / Province, or Rate Center / Locality (City). Choose your preference and click on Search Numbers.

You can scroll through the list of numbers presented to find the one you want to use for your AI Agent. Click on Select and then click on Next.
Step 5. Review & Finish – Review your AI Agent configuration. This page shows your Agent Summary and What’s Next. Your AI Agent’s name for the moment shows either your business name or My AI Agent (if you did not change it on the Business Details page). Once your first AI Agent is created you will have access to other pages to be able to change the AI Agent’s name and configure additional features such as their personality, gender, language, and voice. NOTE: Once created your AI Agent will have a default personality, gender, language, and voice. The AnswerBug phone number you purchased is also shown in the Agent Summary section. Click on Create Agent.

Go Live
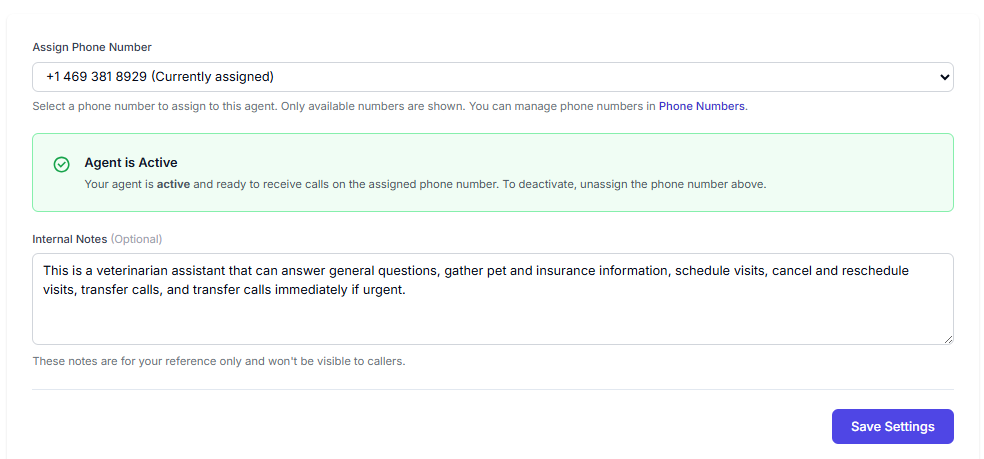
Once your AI Agent is successfully created you will be on the Go Live page. You can see that the phone number you purchased is active, currently assigned to the AI Agent, and that the AI Agent is active. The Internal Notes section can be filled in with information regarding the AI Agent’s setup. These notes are for your reference only. NOTE: Click on Save Settings if you change anything on this page or add notes.

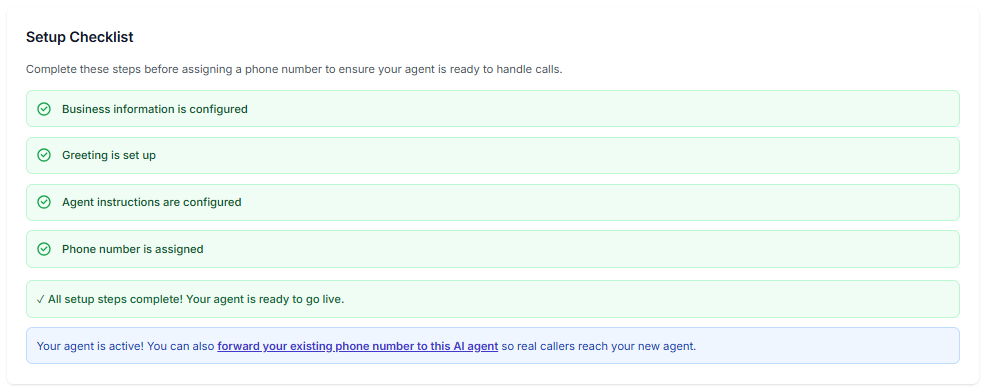
Setup Checklist – this section shows you what has been set up for the AI Agent so far. Even though your AI Agent could go live at this point, there are additional features that you can set up such as the AI Agent’s name, personality, gender, and voice.
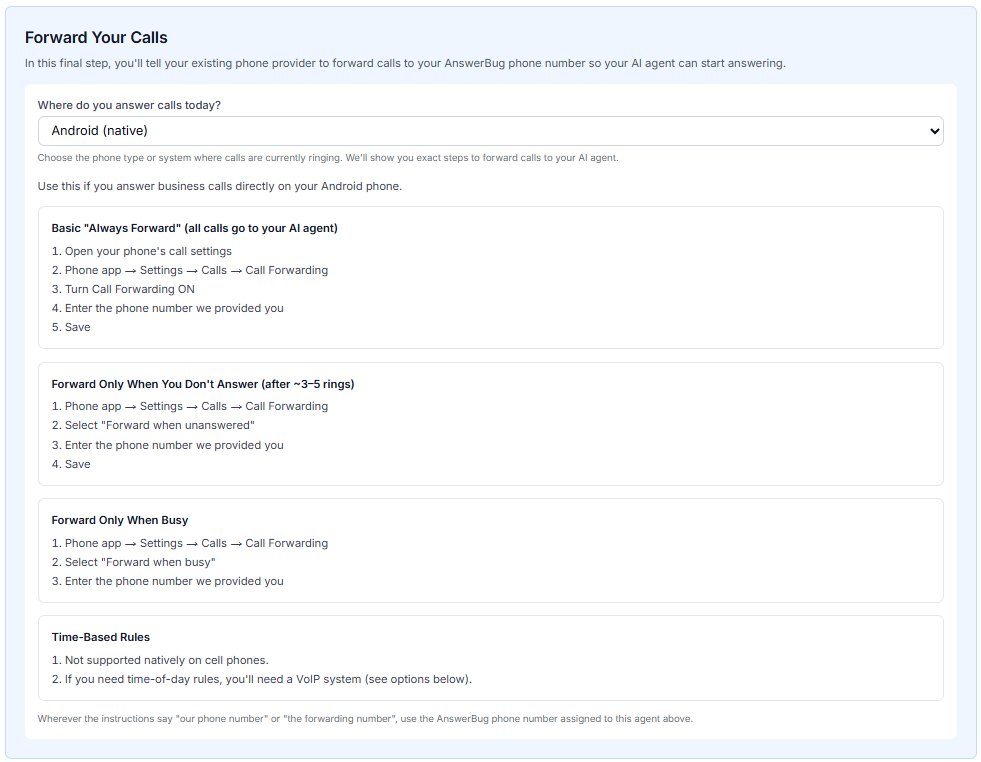
Forward Your Calls – To forward your existing phone number to the AI Agent’s AnswerBug phone number (so your AI Agent can start answering your calls) you can select which phone type or system you have from the drop-down list. The forwarding instructions will change based on your selection.
NOTE: Click on Save Settings if you change anything on this page or add notes.
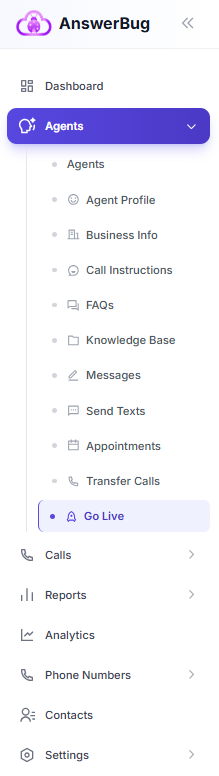
AnswerBug Menu
Now that you have created your first AI Agent you have access to additional pages. See the Menu over on the left.
Agent Profile
Your first AI Agent has a default personality, language, gender, and voice already set up. To personalize your AI Agent to your preference go to the Agent Profile page.
Personalize your Agent
This is where you can change the AI Agent’s name (from your business name or My AI Agent).
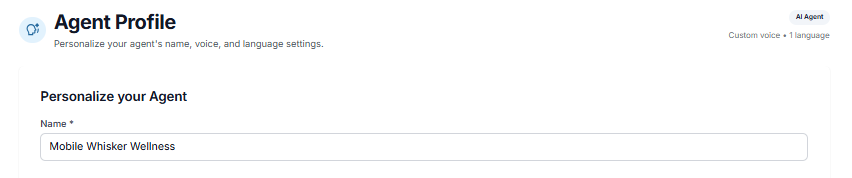
Effective names are often short, friendly, and easy to pronounce. One reason for naming your AI Agent can be that you include the name in your Greeting message. An example might be “Hello, thank you for calling ABC Company. This is Cassie, how can I help you today?”

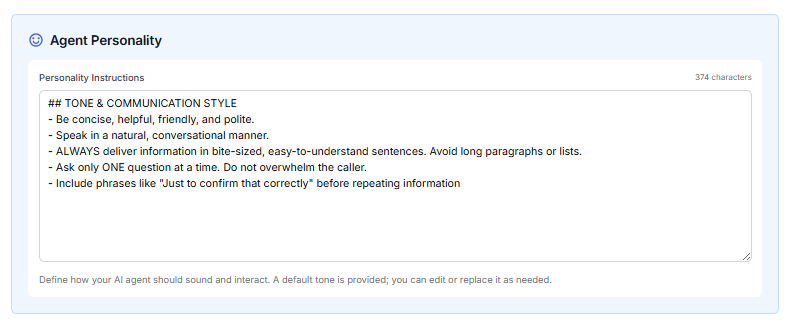
Agent Personality – Define how your AI Agent should sound and interact.
You can use the default Personality Instructions if they work for your business. You can also edit or replace the instructions if needed.
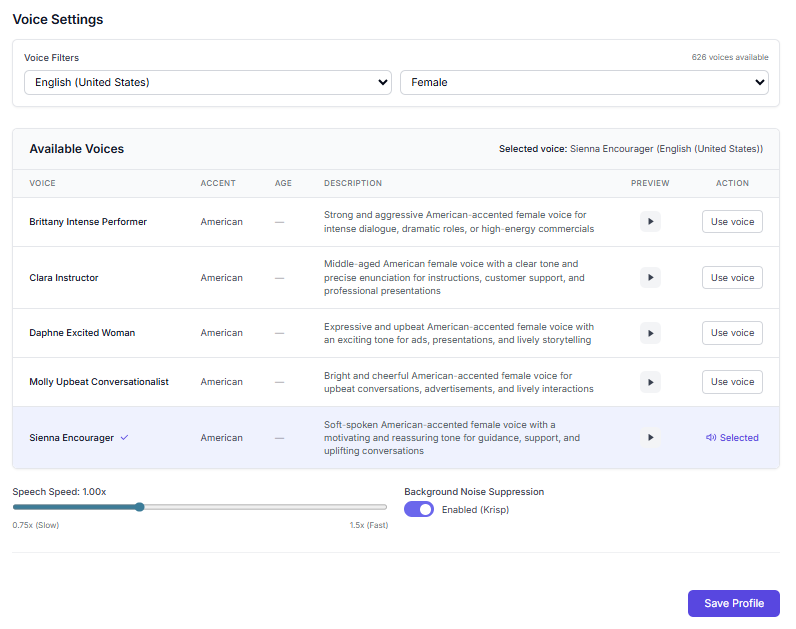
Voice Settings – Select the language, gender, voice, and speed of the voice.
In the Voice Filters section you can select the country and gender of your AI Agent from the drop-down lists.
Available Voices – Based on the country and gender you choose, you can preview and select from the available voice options. You can also adjust the AI Agent’s speaking speed. Once you have made your selections click on Save Profile.
Congratulations, you’re well on your way to successfully using your first AI Agent! This concludes the Get Started with AnswerBug article. For more in-depth information on specific topics, please refer to other knowledge base articles.