Collecting information via fields is critical for operators. Fields allow unique information to be collected in the script and then sent via messages.
Default Fields
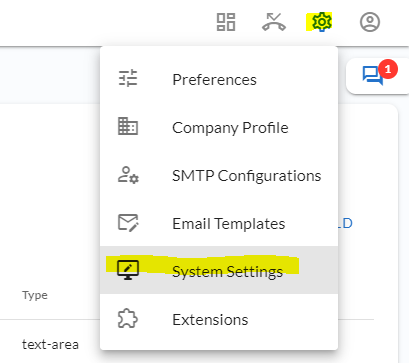
You can view default fields and any other fields you’ve created by navigating to the “System Settings” under the gear icon on the top right of the admin portal.
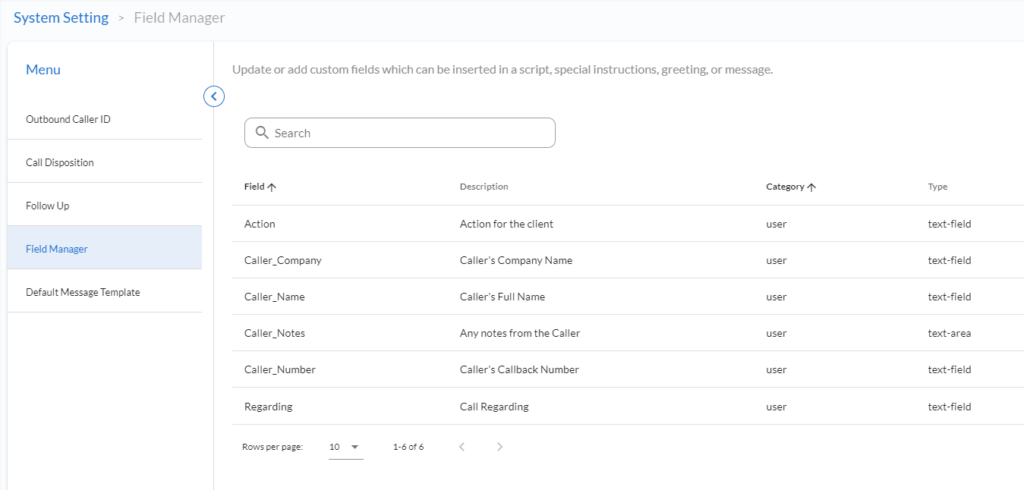
You’ll notice that there are 6 default fields created for you as a standard. These allow operators to gather basic information (such as Name or Call Back Number) about the caller without having to create any new fields.
Creating New Fields
There are two way you can create new fields.
The first way is to click the “+ Add Field” link within the Field Manager.
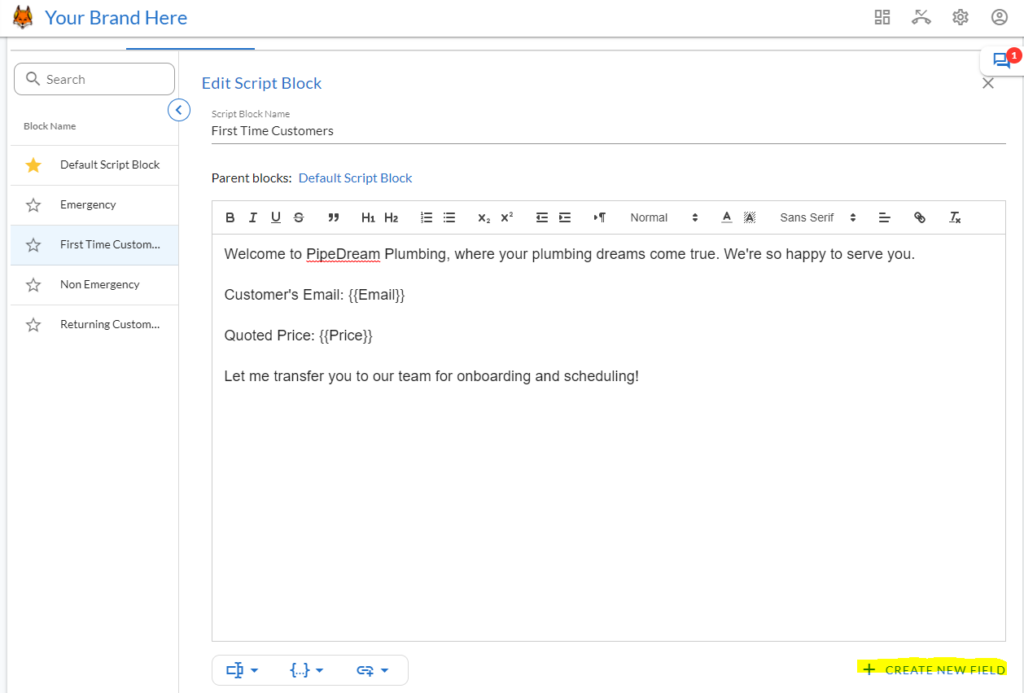
Alternatively, you can also add a new field from the edit script page when editing a client script.
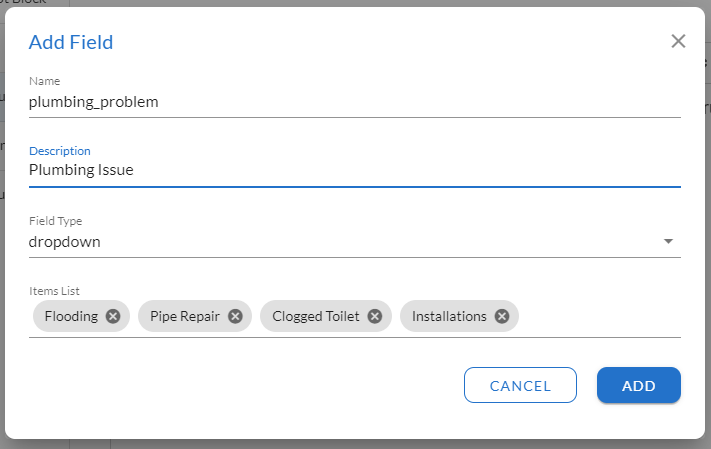
This will prompt a modal with some options for your new field:
- Name – This is the name of the field you’ll insert into the script using brackets such as {{field_name}}.
- Description – Description of what should be inserted into the field. The agent will see this before they complete the field.
- Field Type – Select from text-field (standard), text-box (bigger box for notes type fields), checkbox (click to select), or dropdown (choose from preset options)
Adding Fields to your Scripts
Navigate to edit your script. By default, a few fields will already appear in a script if you haven’t edited it yet.
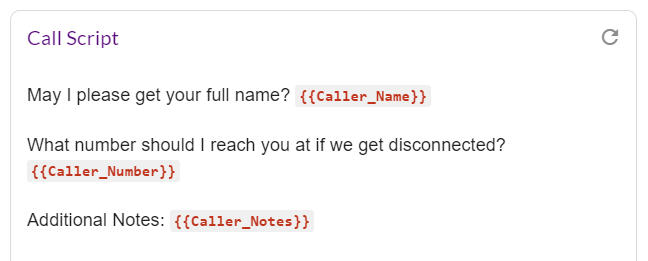
When in editing mode, hover your mouse over the icon below the script that reads “User Defined Fields” then click to view available fields. Then click the clipboard icon beside the field you want to insert to copy it to your clipboard.

Once it’s been copied to your clipboard, paste it into the script where you want it.
(Ctrl+V or Right click then Paste)
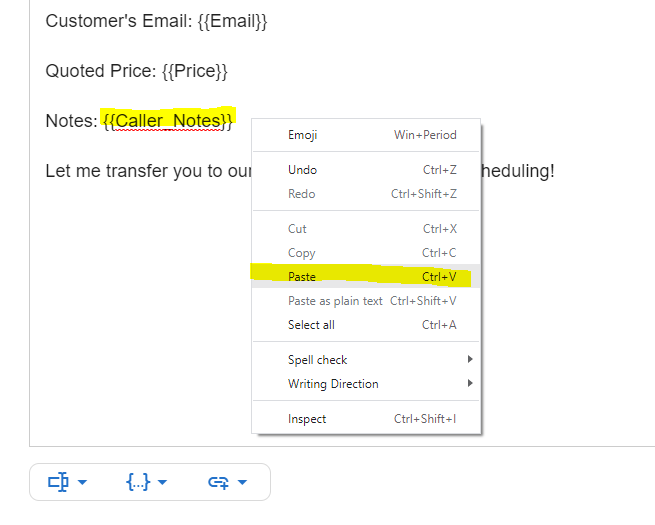
Once you get this process down it’s pretty easy and quick to create and paste fields any where in your scripts.
Adding Variables to the Greeting, Special Instructions, or Scripts
Variables allow you to add pieces of information that “vary” depending on the situation. Some examples could be the agent’s name, the client name, the caller ID of the caller, etc. These can be useful for adding some context and can be inserted not only in the Script and Message, but also in the Greeting or Special Instructions sections.
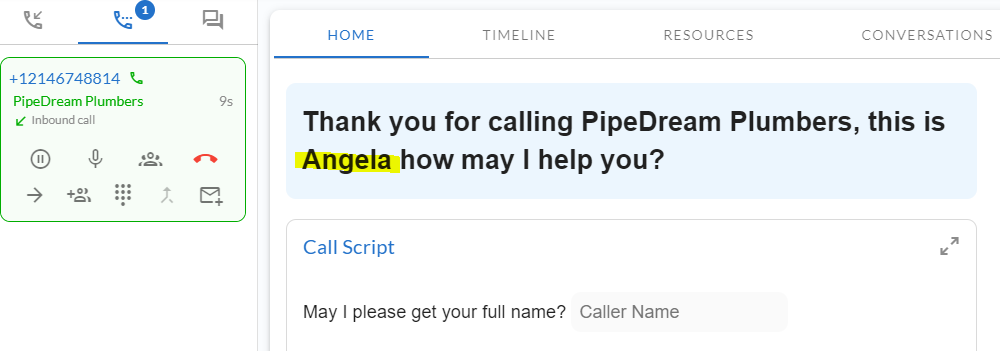
In this example, we’ll add the agent’s first name to the Greeting using the {{agent.firstname}} tag.

From the operator’s perspective this is how it would appear:
Here’s an example of variables being used in a Message template:
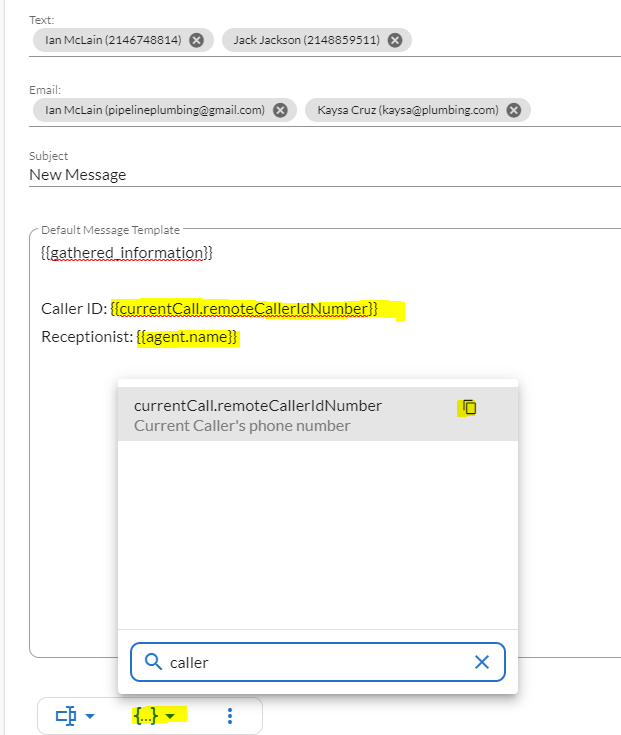
In this scenario, it would automatically grab the caller’s caller ID number along with the agent’s name so they don’t have to manually type these things.
Collected Fields in the Message
When the agent collects information in fields in the script, these can also show up in the Message automatically.
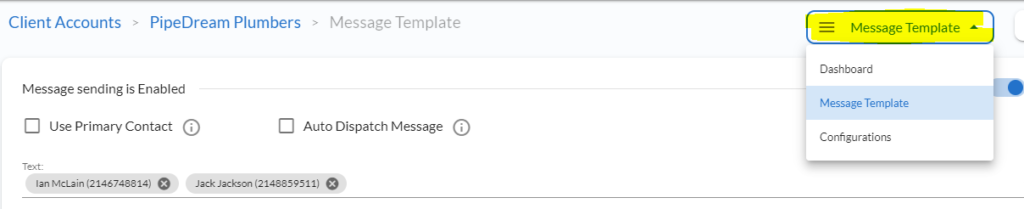
Navigate to the Message template via the Drop Drop navigation inside the Client account page.
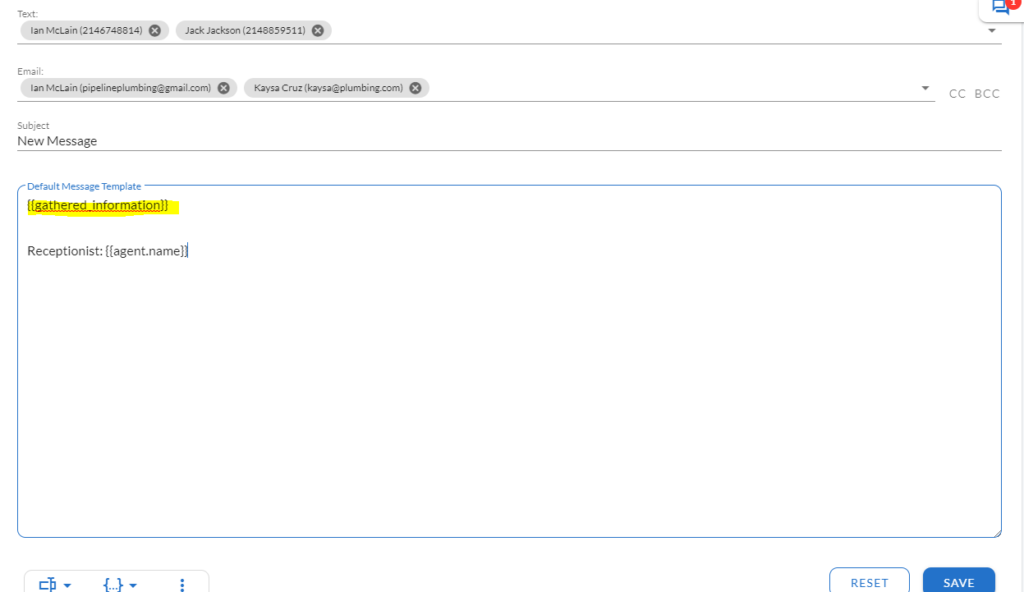
The {{gathered_information}} tag automatically formats and displays any collected fields from the script. This takes the hassle out of recreating all the fields in the message template.
This simple message template will actually display ALL fields collected by agents:
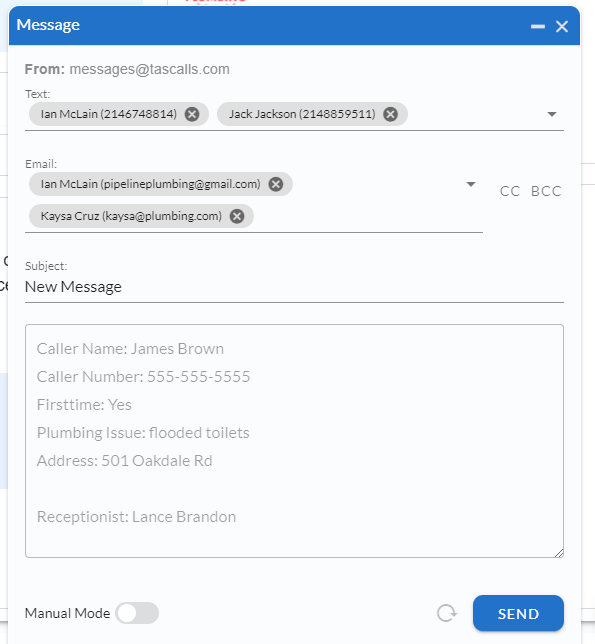
Assuming fields are collected, here’s how it could look for the agents before it’s emailed or texted:
You can also insert fields or variables manually into the message as needed.
Pro-tip: Use the default “Caller_Name” field when possible because it’s used reports and other areas to quickly see the person’s name.
You should now have a good understanding of fields and variables and how to effectively use them when building scripts and messages.