Admin and Client users can manage and setup important tasks to be worked by operators.
Creating and Managing Tasks as an Admin User
Managers will also see alerts if there are tasks coming in unassigned. An example of an unassigned task may be an incoming message from a contact. The manager can then simply click on the Task Manager icon on the top right (or the link in the reminder) to assign and set a due date.
As an Admin, you have full control over task management, including creating tasks, updating assigned tasks, and tracking follow-ups within the Task Manager. Unlike CLIENT ADMIN, you can also view and update follow-up calls in the system, ensuring better oversight and workflow management.
1. Viewing and Managing Tasks
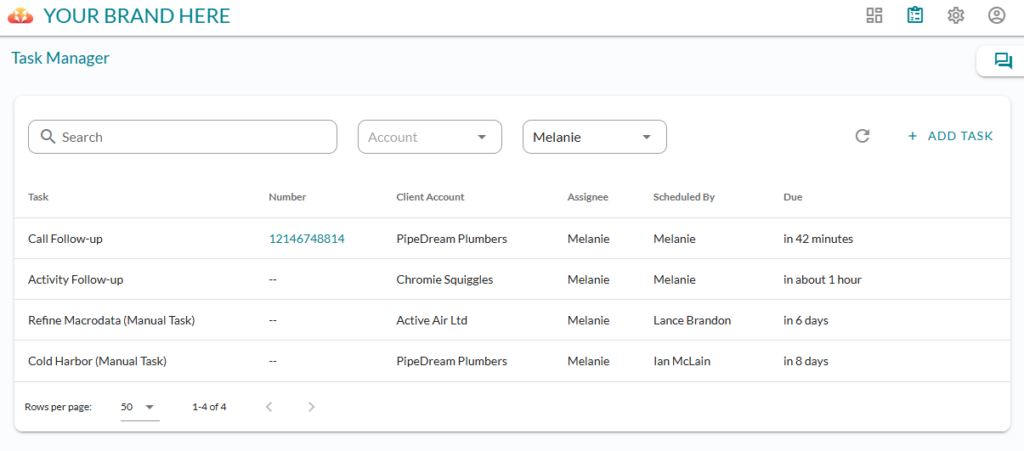
Admin Portal users have the ability to view tasks and follow-up calls scheduled by agents and update the details as needed.
How to Access and Update Tasks:
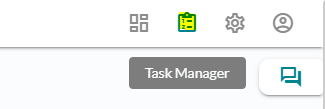
- Navigate to the Task Manager in the Admin Portal on the top right of your screen.
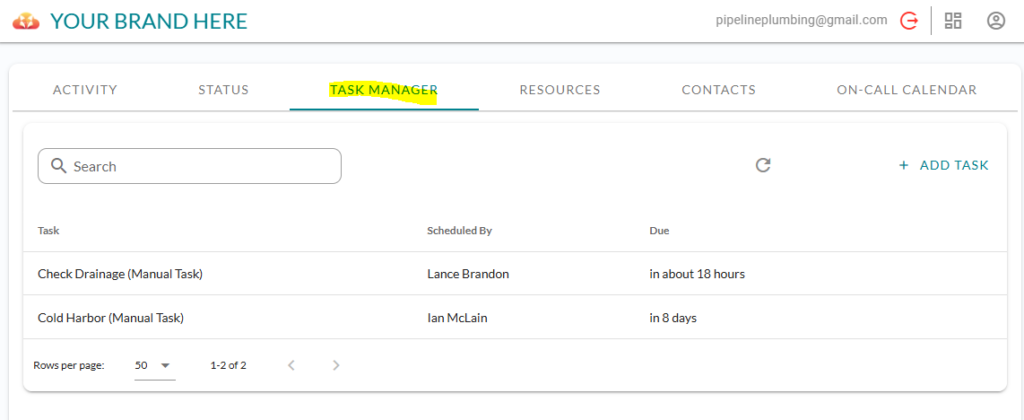
- Locate tasks under the task list. These are scheduled callbacks set by agents or manual tasks created by agents, admin, or client users.
- Click on Call detail to view the information.
- Click the pencil icon if you need to update notes, add files, or change the assignee, date or time.
- Click “Save” to update the follow-up call details.
This ensures that managers can monitor and adjust tasks for better coordination with agents.
2. Adding a New Task in the Admin Portal
Client Admins can create tasks manually, just like agents, but with the ability to assign tasks to agents or managers.
How to Add a New Task:
- Open the Task Manager and click “Add Manual Task.”
- Select the Assignee – Choose who will handle the task (an agent or a manager).
- Select the Account (Client Account) – Assign the task to the relevant client.
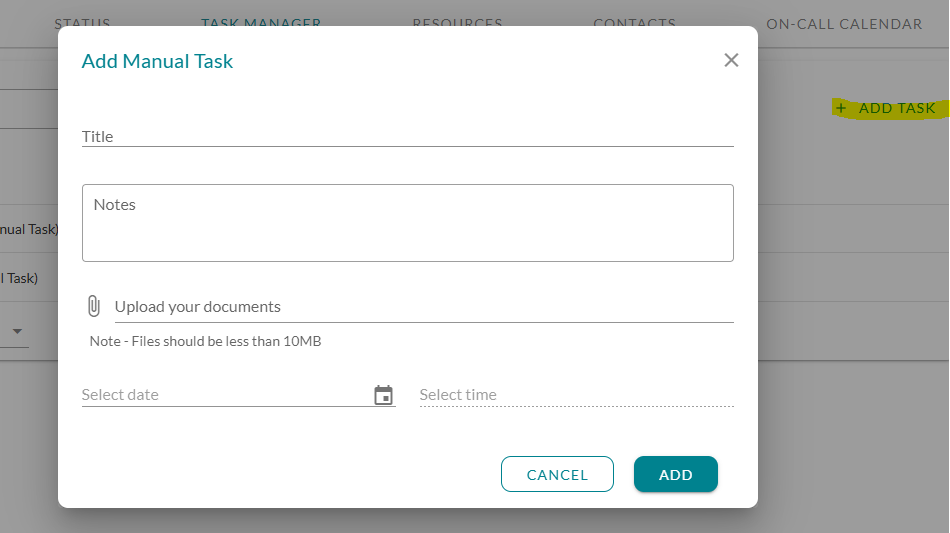
- Enter the Title and Notes describing the task.
- If needed, upload supporting documents (max file size: 10MB).
- Select the due date and time for the task.
- Click “Add” to save the task.
Once added, the task will appear in the assigned user’s Task Manager for completion. This helps keep task information up-to-date, ensuring proper tracking and accountability.
How to Create and Manage Tasks as a Client Admin in the Task Manager
Client Admin users have the ability to create and edit tasks within the Task Manager, ensuring smooth workflow management and organized task delegation. This guide will walk you through the process of adding and updating a manual task.
Step-by-Step Guide to Adding a Task
- Navigate to the Task Manager. Log in to your admin panel and access the Task Manager section.
- Click on “Add Manual Task”. You will see a + sign that allows you to manually create tasks. Click on it to open the task creation pop out box.
- Enter the Task Details
Title: Provide a clear and concise title for the task.
Notes: Add any relevant details or instructions in the Notes section to provide more context.
- Upload Documents (Optional)
If the task requires supporting files, you can upload documents (up to 10MB) by clicking the attachment icon.
- Select Date and Time
Choose the due date and set a specific time if applicable to keep tasks on schedule.
- Save the Task
Click the “Add” button to finalize and save the task.
If you need to discard the task, click “Cancel” instead.
Task Editing and Management
Once a task is created, whether by an agent or a Client Admin, Client Admins can access the Task Manager anytime to update task details, add comments or view logs, upload additional files, or adjust deadlines by clicking the pencil icon.

This structured approach ensures that all tasks are documented and easily trackable, helping teams stay productive and organized.