How to Login to the Agent (Operator) Screen
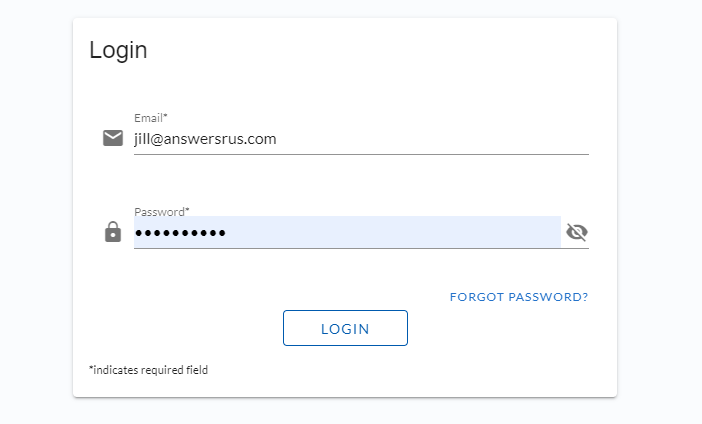
Login with your credentials to your given URL. Example: https://7XXX.tas.evs7.com/
Using the Agent Screen
Upon login, you will see a dashboard with some statistics along with a spot for follow-ups if there are calls that are unfinished.
By default, you’ll be put into Ready mode when logging in to immediately start handling calls. Click the green play icon on the top of the screen to change it to Paused mode. This is useful when needing to go to the bathroom or take a break. The icons at the top of the screen represent:
- Log out
- Ready or Paused Mode
- My Dashboard
- Recent Calls History
- Missed Calls
- Profile Options
Handling a Call
Make sure you have a USB or bluetooth headset connected and are using Chrome or Edge browser.
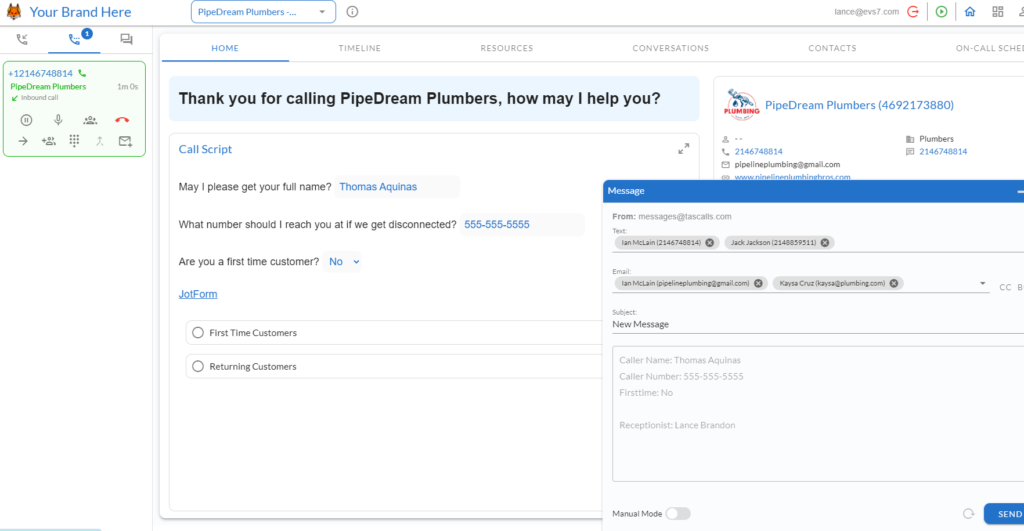
To perform a sample call, dial or have a colleague dial one of the client forwarding DIDs, and you should see the incoming call on the left side of the screen. Click to accept the call and you’ll be prompted with a notification to allow the browser to use the microphone. Once you set the approval, you’ll be live on the call. If auto-answer is enabled the call will connect instantly (it will beep in your headset to notify you).
Note: You only have to approve your mic in your browser the very first time you take a call.
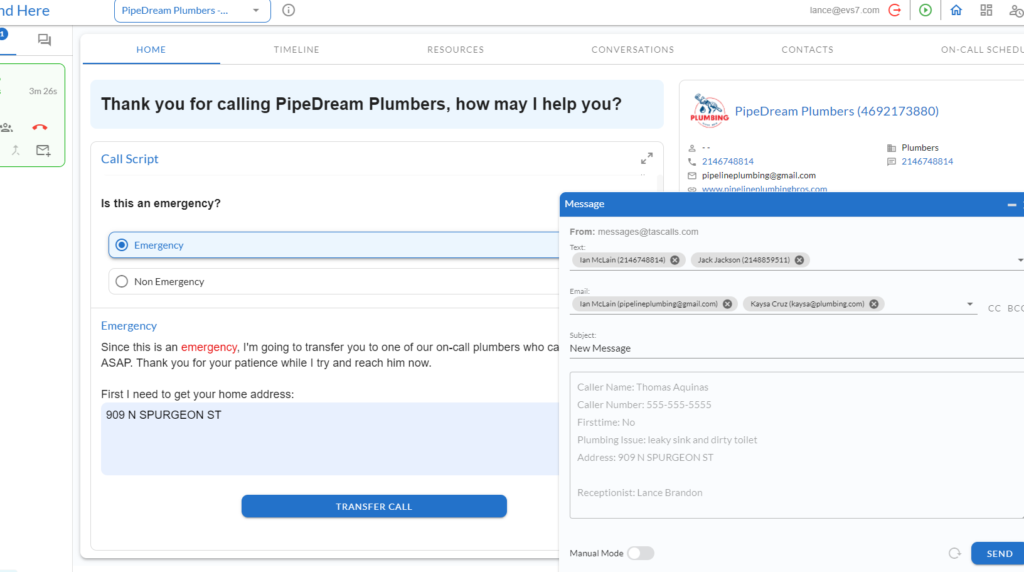
Notice that the client information including the greeting, client details, special instructions, and script specific to the client have popped onto the screen.
You can start entering information into the script, and then click on the Message icon on the call box on the left side of the screen. Here you can view or send the message via text or email to a client contact.
If dynamic scripting is enabled, you may need to navigate through the script appropriately to find a specific Transfer button with certain contacts associated with different scenarios.
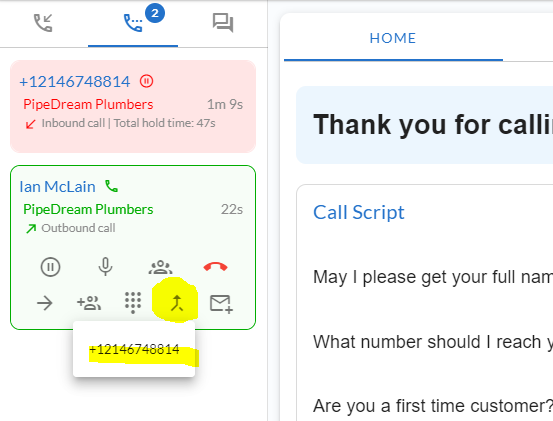
On the call box on the left, you’ll also have options to place the call on hold, mute the call, blind or warm transfer the call, or end the call.
When the call ends, you can choose the disposition to mark what happened on the call. Some default dispositions include: Call Handled, Wrong Number, and Follow Up.
You can handle multiple calls by placing one call on hold and then clicking to accept another call. Then you can toggle back and forth between the calls.
Performing a Warm Transfer
If you need to warm transfer a call, simply click the Transfer Call button in the script OR the Warm Transfer icon on the call box to bring up a modal of client contacts. Choose the client contact you wish to transfer the call to, and this will initiate a call with the contact. This automatically puts the current call on hold.
Once you connect with the contact, you can speak with them and inform them of any information.
“Hi James, I have Jennifer on the line who would like to speak to someone about new service. Are you free to take this call now?”
To complete the warm transfer, click the “Merge” icon and choose the number of the original call. You’ll then be prompted to disposition the call before completing it.
Additional Agent Tabs
While often you won’t need to leave the first screen, you’ll have the option to visit other tabs:
- Timeline – This shows a history of previous interactions with this caller.
- Resources – See embedded websites, forms, or files
- Conversations – 2-way texting with client contacts in real time
- Contacts – See or search a list of all contacts associated with this client
- On-Call Schedule – View the daily or weekly schedule to quickly see who is on-call for a transfer
We’ll look at some of these in more depth in other articles.